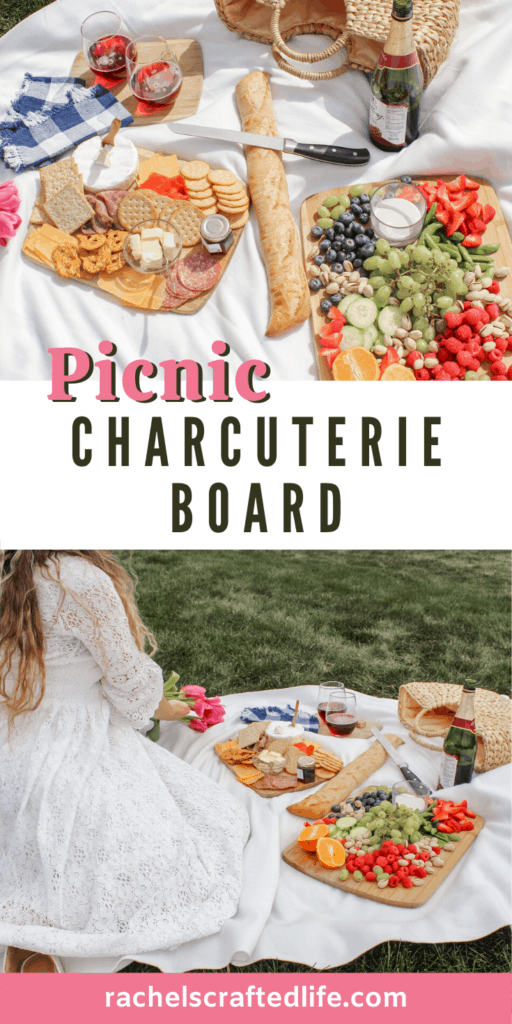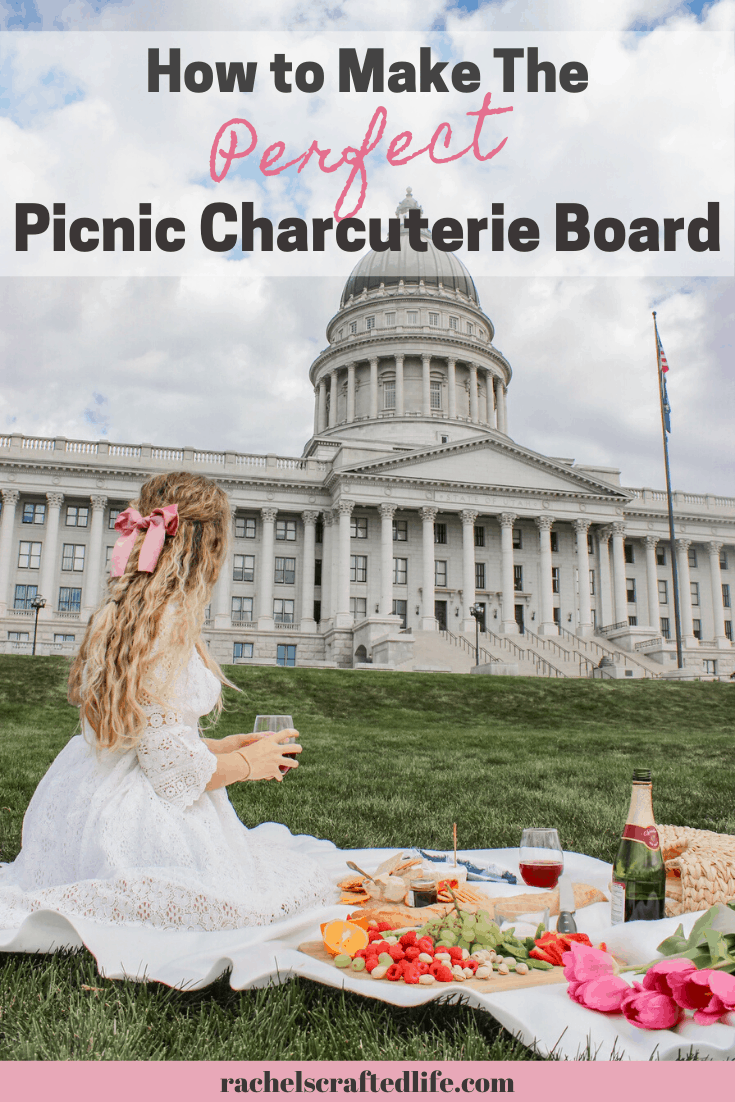
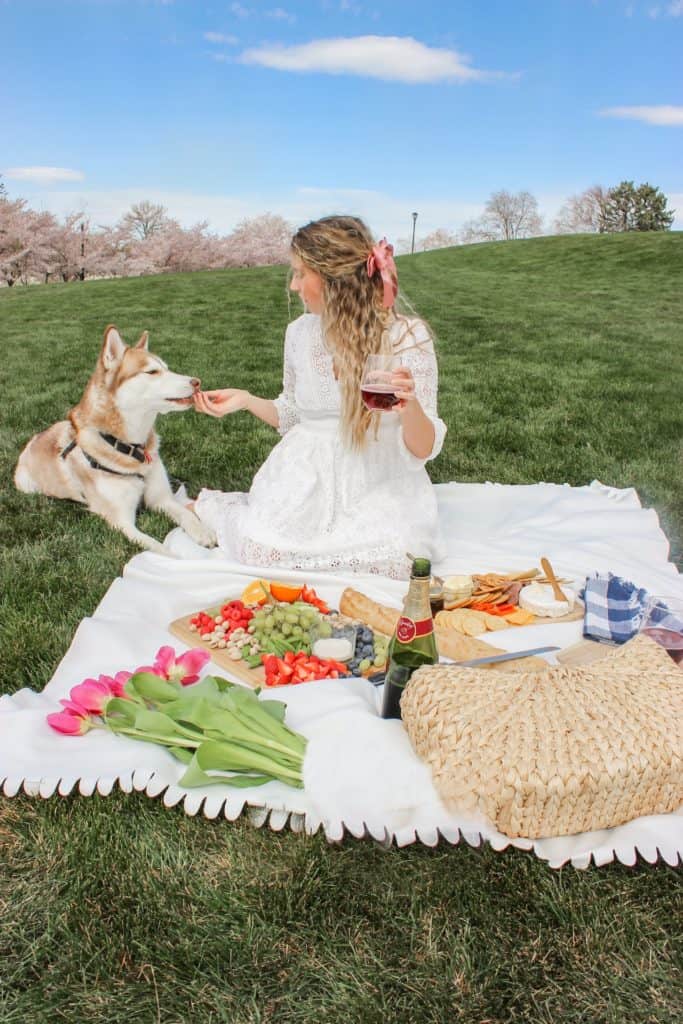
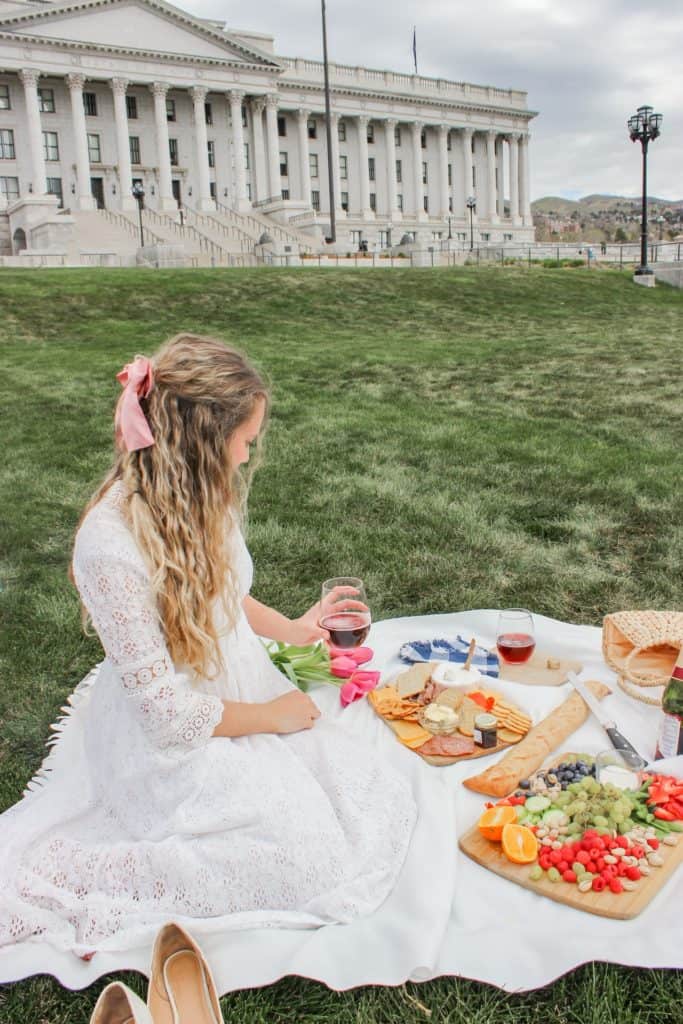
Spring is in the air and that has me so excited to spend all day everyday outside enjoying the fresh air. One of my favorite ways to spend time outside is with picnics! So for a date with my husband I planned a lunch picnic at the capitol building lawn. And the main attraction was an easy picnic charcuterie board.
I figured I’d share all the details so that you can make one too. So whether you’re picnicking in your backyard or heading to the park get ready for a delicious, fun meal!
This post may contain some affiliate links. This means I make a small profit from your purchase but at no increased cost to you. Thank you!
Picnic Supplies
First things first we need to gather the picnic supplies. A blanket to sit on and that is large enough for everyone in the party. Bringing a blanket per 2-3 people is always a good rule of thumb.
We also brought everything out in a large insulated picnic basket to keep things cool. Glasses to drink out of, flowers for decoration and plates if you want something to eat off of. My husband and I simply ate off of the boards since it was just the two of us.
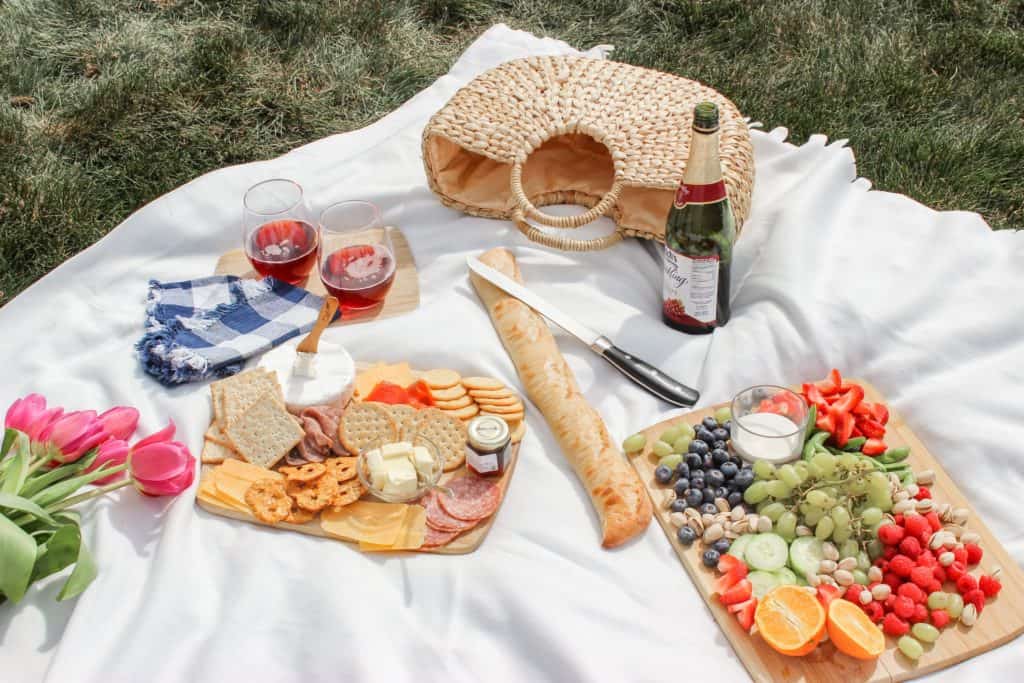


// Stemless Wine Glasses // Navy Plaid Napkins // Picnic Blanket // Ratan Bag // Glass Ramekin // // Butter Knife //
Charcuterie Board Supplies
To make a charcuterie board the first thing you’ll need is the board(s) themselves. You can buy large boards anywhere from Walmart to Amazon. I used a set of three wooden cutting boards we already had and they worked amazingly!
Then you’ll need some small ramekins or bowls to put sauces or small foods in to add some variety and to prevent them from seeping all over the food.
Finally you’ll also need small serving utensils such as a butter knife for the butter, a cheese knife if there is any cheese people need to cut themselves like brie. And small spoons to dish up the sauces and dips.
Categories of Food
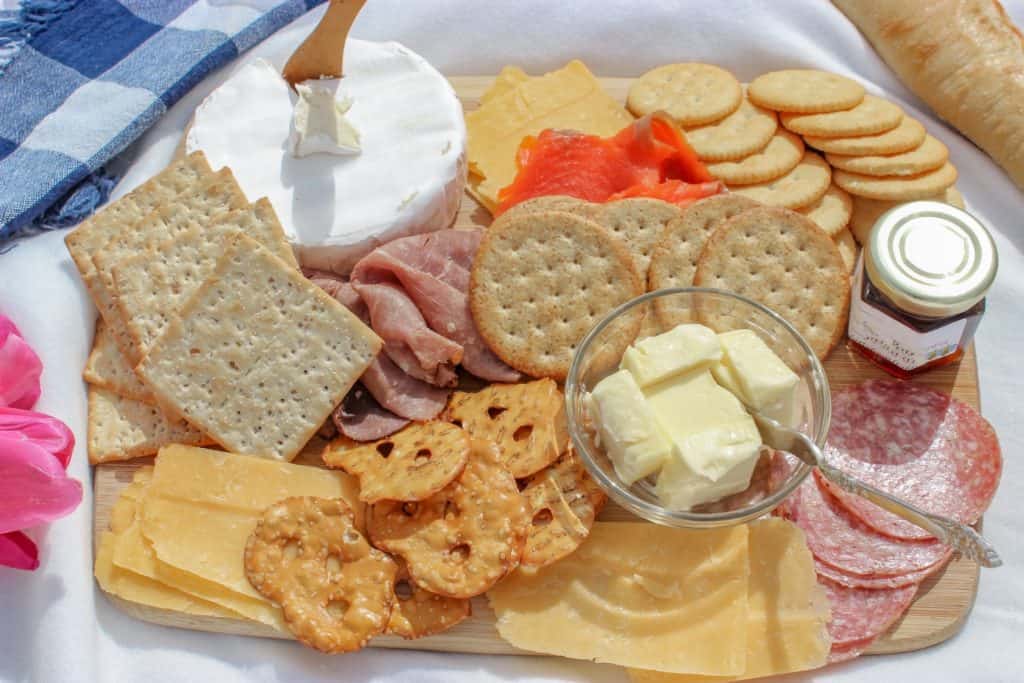
Meat: Sliced meat is easy to serve and eat on the bread and crackers. Having variety is the key to a great charcuterie board.
Cheese: A wide variety is great to satisfy every palette. A basic cheese like cheddar to start and then a mix of soft cheeses, hard cheeses and aged cheeses.
Bread and Crackers: Having a good base is key, finding a couple buttery delicious crackers with a baguette is great.
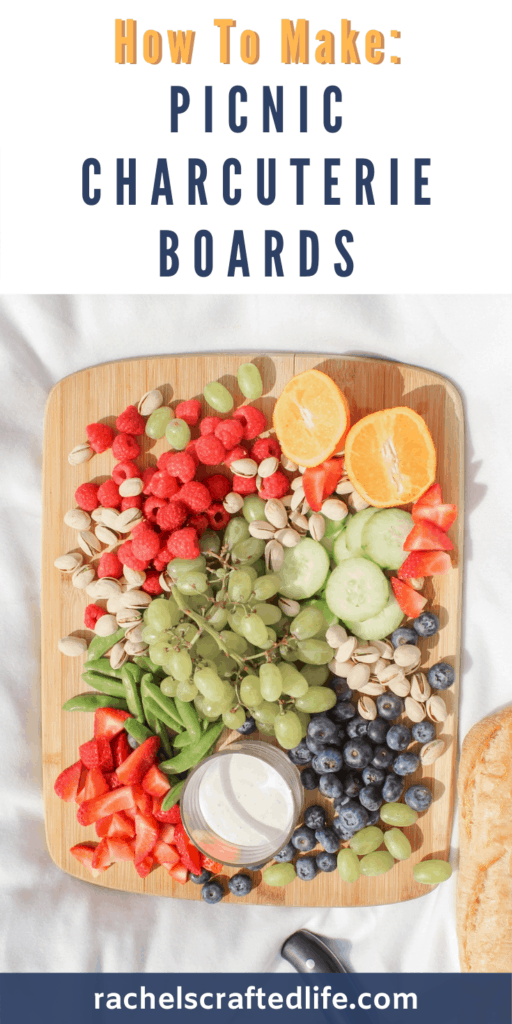
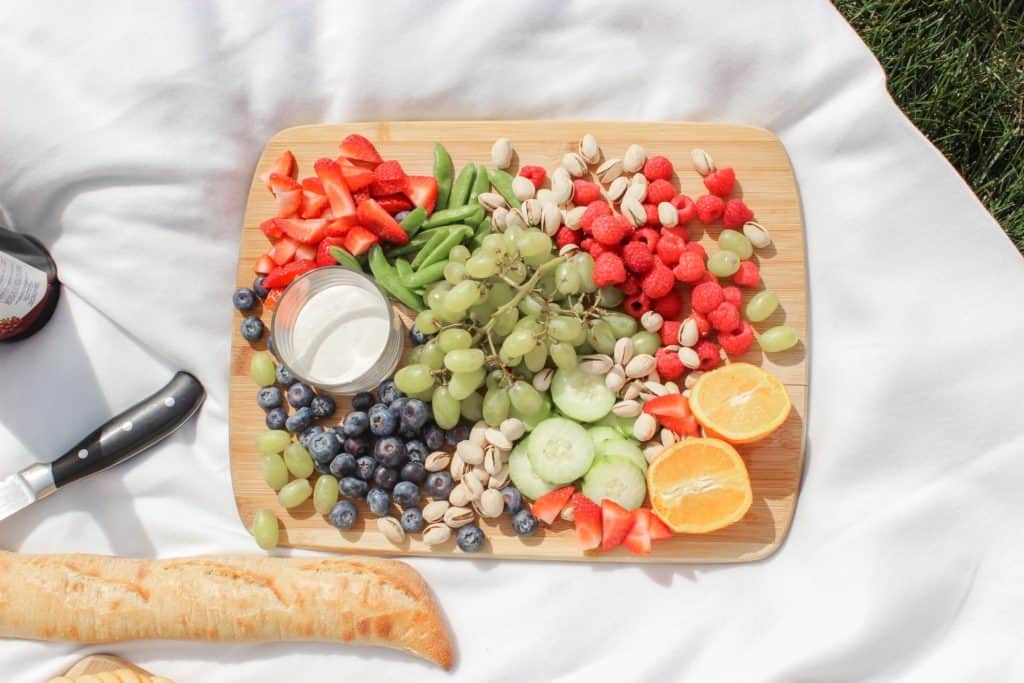
Fruit and veggies: Fruits and veggies are healthy and light and make for great fillers on any board. Pick several favorites to serve up
Nuts: Nuts are a great filler as well but do be cautious of guest allergies before you let them touch other foods.
Other: Foods like dips for the veggies, butter for the bread and other items are good to have to add a variety of flavors.
Dessert: Desserts are fun to add to any board as a little sweet alternative to the salty and savory items. Or an entire dessert charcuterie board is fun too.
Below are the items we brought plus a few other options that I thought of. Really the sky is the limit though and you can add whatever sounds good to you and your party. Have fun with it!
Other Delicious Foods:
Meat
- Roast Beef
- Salami
- Turkey
- Salmon
- Pepperoni
- Ham
Bread and Crackers
- Baguette Slices
- Fancy Crackers
- Flat Pretzels
- Ritz Crackers
- Popcorn
- Bread Sticks
Nuts
- Pistachios
- Cashews
- Peanuts
- Almonds
- Macadamia Nuts
Cheese
- Cheddar Cheese
- Brie
- Blue Cheese
- Pepper-jack
- Aged Cheese
- Gouda
Fruit and Veggies
- Berries
- Grapes
- Oranges + Apples
- Snap Peas
- Cucumbers
- Broccoli
Other
- Butter
- Jam
- Honey
- Different Dips
- Ranch
Dessert
- Chocolate Covered Almonds
- Cookies
- Brownie Bites
- Mini Cinnamon Rolls
- Edible Cookie Dough
Putting Together a Charcuterie Board
Putting together a charcuterie board does not have to be hard. Start by putting out the bowls or ramekins that will hold the liquids and items that rolls like olives. Then lay out the larger bulkier items like bread and cheese slices. From there just start filling in open spaces with different foods from largest to smallest.
It is ok to pile items up and for things to look a little messy. Get fancy in how you roll meats or pile fruit. Don’t add too much of each item so that there is room for everything. And it is ok to have two separate piles of the same food item if it looks better or you want to add more of that food.
Every picnic charcuterie board will look different and that is ok! It is part of the beauty and fun of it. The key is to just start and shuffle things around until you’re satisfied.
Picnic Charcuterie Board
Now you are all ready for your picnic! I hope you enjoy your personalized picnic charcuterie board as much as we enjoyed ours. Remember to have fun and don’t stress about it being perfect.
Picnics are so fun anytime Spring – Fall! Being able to be outside and enjoying the fresh air really makes a normal meal feel special and it doesn’t have to be expensive. Rummage through your cabinets to see what you have on hand and run with it.